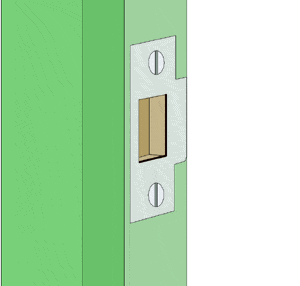
Installation Guides - Fitting a Mortice Latch
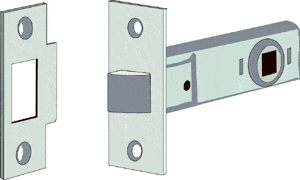
Tools required: rule, hammer, chisels, drill, pencil, tape measure, carpenter's square, wood bits
Fitting the latch
1. Measure from the top of the door down to its midpoint, and mark a horizontal line using a T-square. Draw corresponding lines on both faces of the door as shown in the diagram.

2. Measure the distance from the face plate of the latch to the centre of the spindle hole, and mark this distance on each of the lines drawn on the face of the door from 1.
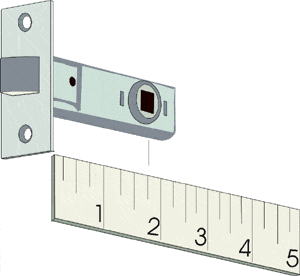
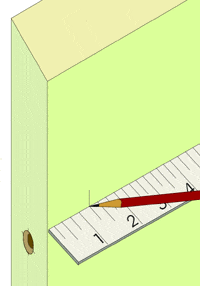
3. Draw vertical lines at these points as shown in the diagram below. The point where the lines cross will be the position where the door must be bored out to receive the spindle. The spindle is the metal rod provided with your door handles, which connects the handles to the mortice latch. Pushing down on the handle rotates the spindle which in turn causes the latch to retract into the body of the latch. The latch is spring loaded so that when the handle is released, the latch returns.

4. Drill a hole on each face of the door where the lines cross, to a depth of around 7mm. The holes should be bigger than the spindle diameter to allow good clearance, but be careful not to drill holes which are too large to be covered by the plate of the door handle (some door handles have very narrow back plate).

5. Mark the centre of the door thickness on the line drawn along the edge of the door in 1. Draw a vertical line at the point marked using a square.
6. Now drill the hole for the latch. The depth of the hole should be slightly greater than the depth of the mortice body. The diameter will depend on the diameter of the latch - see the fitting instructions for the latch. Usually it will be around 18-22mm. Care must be taken when drilling this hole as the hole will be almost as wide as the thickness of the door, so it is important to keep the drill absolutely level.

7. Insert the latch into the hole drilled in 6 so that the vertical line drawn in 5 goes through the centres of the 2 holes in the face plate of the latch. Holding the latch in this position, mark the boundary of the faceplate on the door with a pencil.
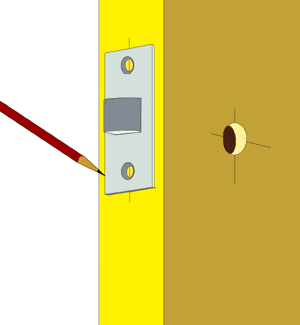
8. Remove the latch and use a T-square to properly mark out the boundary drawn in 7. This region must next be recessed to the depth of the faceplate, usually around 2mm.
9. Use a sharp chisel to recess the area marked in 8 to the depth of the faceplate. Be very careful as you are chiselling as the latch plate will almost always be very close to the edge of the door. Most hollow doors have a very thin cover and it is easy to dislodge this as you cut away. The easiest, surest way to get an even cut is to chisel the latch recess as you would a hinge while hanging a door, lots of little cuts to the correct depth. Don't forget to leave the pencil line in place or your recess will be cut too large.
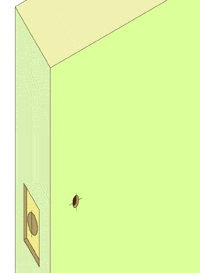
10. Screw the latch in place using the 2 fixing screws, making sure it is level with the edge of the door.
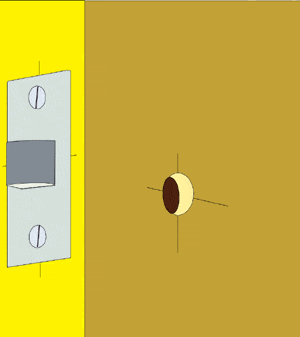
11. Now, with the spindle slotted into one of the door handles, guide the spindle through the hole and into the latch. Also make sure that the handle is aligned with the edge of the door.
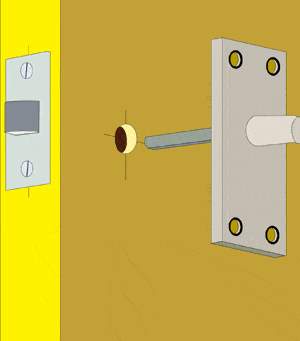
12. Fix the handle in position using 2 screws on diagonally opposite corners. Check that the handle is working correctly with free movement and fit the other handle again with 2 screws.
13. Finally screw in the remaining screws, being careful not to scratch the handle when doing so.
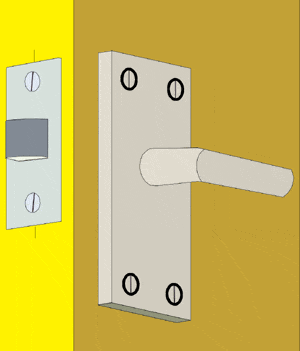
Fitting the strike plate

The strike plate is the metal plate which houses the latch when the door is closed. It is important to fix the strike plate into the correct position, so that the door does not wobble about when closed.
1. Close the door to the position where the latch is at the edge of the door frame, as shown in the diagram below. Mark with a pencil the top and bottom of the latch, and extend using a square across the door frame.
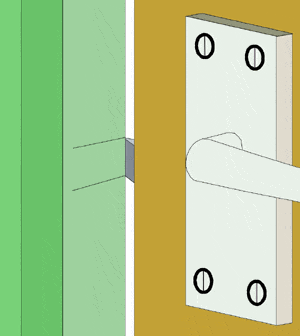
2. Now the position of back edge of the latch when the door is closed must be marked on the door frame. You can either measure, or apply some pencil to the sharp edge of the latch. Then pull the door handle down and close the door. Releasing the handle should now cause the latch to transfer the pencil lead onto the door frame thereby marking its exact position.
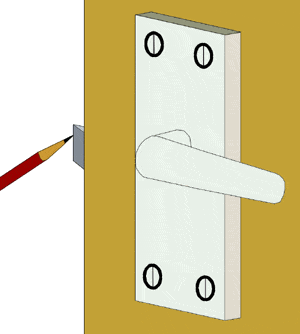
3. Now draw a vertical line at the position marked in 2.
4. Align the strike plate with the lines on the frame as shown in the diagram below, and draw around it to mark its boundary.
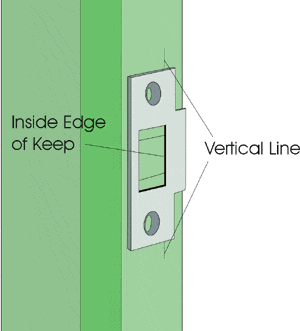
5. Chisel away the region within the boundary marked in 4, to the depth of the strike plate. Then hold the strike plate in position while marking out the central cut out region which will house the latch.
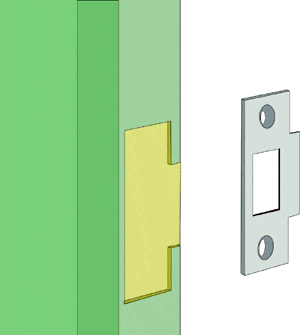
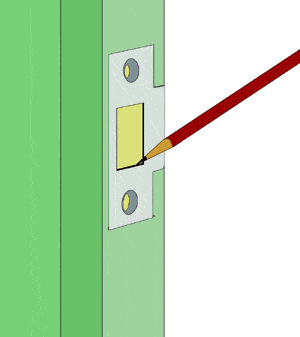
6. Now chisel away the region marked in 5 to a depth of around 8mm.
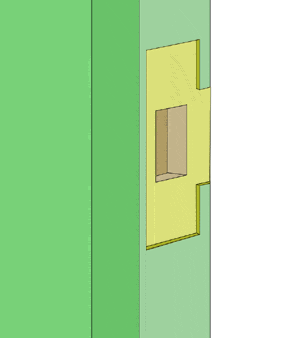
7. Finally replace the strike plate checking that it is flush with the frame, and screw into place.
